Builder gel has revolutionized the nail industry, offering a durable and versatile solution for those seeking long-lasting manicures. Whether you’re a professional nail technician or a DIY enthusiast, understanding how builder gel works, its benefits, and the best application techniques can help you achieve salon-quality results at home.
In this comprehensive guide, we’ll explore everything about gel—from its advantages and application process to maintenance tips and expert recommendations. If you want to enhance your nails while maintaining their health, read on to discover why builder gel is a game-changer in nail care.
What is Builder Gel?
Builder gel is a thick, strengthening gel used to create nail extensions, reinforce natural nails, and provide a sturdy base for nail designs. Unlike regular gel polish, builder gel adds structure and durability, making it an excellent choice for those with weak, brittle, or short nails.
Key Features of Gel:
- Self-leveling formula – Ensures a smooth and even application.
- Durable and flexible – Provides strength without making nails too rigid.
- Cures under UV/LED lamps – Hardens when exposed to light, creating a solid layer.
- Can be sculpted or used with tips – Ideal for both nail extensions and natural overlays.
Benefits of Using Gel
Builder gel has gained immense popularity due to its numerous advantages over traditional acrylics and regular gel polish. Here’s why it stands out:
1. Long-Lasting Durability
Builder gel lasts significantly longer than standard gel polish, often up to 3-4 weeks without chipping or lifting.
2. Strengthens Natural Nails
It acts as a protective layer, preventing breakage and promoting nail growth over time.
3. Lightweight & Natural Finish
Unlike acrylics, builder gel feels lighter on the nails and offers a more natural appearance.
4. Versatile Application
It can be used for:
- Strengthening natural nails
- Creating extensions
- Repairing broken nails
- Enhancing nail art designs
5. Minimal Odor & Healthier Option
Unlike acrylics, gel has little to no odor and is considered a safer alternative due to fewer harsh chemicals.
Types of Builder Gel
There are several types of gels available, each catering to different needs.
1. Hard Gel
- Requires filing off for removal.
- Offers maximum durability, making it ideal for nail extensions.
2. Soft Gel (Soak-off Gel)
- Can be removed using acetone soak-off method.
- Provides flexibility and is great for natural nail overlays.
3. Rubber Base Gel
- More flexible and adheres well to natural nails.
- Perfect for clients with thin or brittle nails.
4. Fiber Gel
- Contains tiny fiberglass particles for extra strength.
- Suitable for repairing damaged nails.
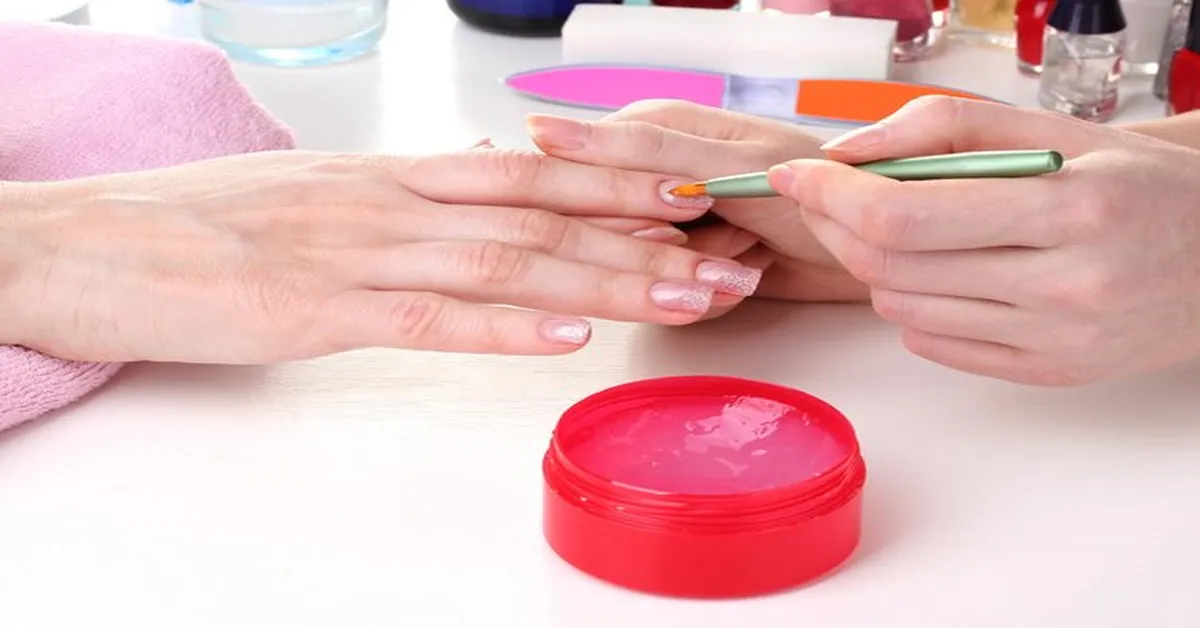
How to Apply Gel: Step-by-Step Guide
Whether you’re a beginner or a pro, following the correct application process ensures longevity and a flawless finish.
What You’ll Need:
- Builder gel of your choice
- Nail prep dehydrator & primer
- UV/LED lamp
- Base coat & top coat
- Nail file & buffer
- Gel brush
- Cleanser or alcohol wipes
Application Process:
Step 1: Nail Preparation
- Remove old polish and trim nails to the desired length.
- Push back cuticles and lightly buff the nail surface.
- Clean nails with alcohol wipes to remove oils.
- Apply a nail dehydrator followed by a primer.
Step 2: Base Coat Application
- Apply a thin layer of base coat and cure under a UV/LED lamp.
Step 3: Gel Application
- Use a gel brush to apply a thin layer of builder gel.
- Cure under the UV/LED lamp for the recommended time (30-60 seconds).
- Apply a second layer if needed, ensuring even coverage.
- If extending nails, use nail forms or tips and build the shape accordingly.
- Cure each layer thoroughly.
Step 4: Shaping & Refining
- Once fully cured, file and shape the nails to the desired form.
- Use a buffer to smooth the surface for a polished finish.
Step 5: Top Coat & Finishing
- Apply a top coat to seal the builder gel.
- Cure under the UV/LED lamp.
- Wipe nails with a cleanser to remove any sticky residue.
- Apply cuticle oil for added hydration.
Builder Gel vs. Acrylics: Which is Better?
| Feature | Builder Gel | Acrylics |
|---|---|---|
| Durability | 3-4 weeks | 3-6 weeks |
| Flexibility | More flexible | More rigid |
| Odor | Minimal/no smell | Strong odor |
| Removal | Soak-off (soft gel) | Filing required |
| Best for | Natural overlays, extensions | Long extensions, durability |
Tips for Maintaining Builder Gel Nails
To prolong the life of your builder gel manicure, follow these maintenance tips:
- Wear gloves when doing household chores to prevent lifting.
- Moisturize cuticles daily to keep nails healthy.
- Avoid excessive exposure to water as it can weaken the adhesion.
- Refill every 2-3 weeks to maintain strength and appearance.
- Use non-acetone removers to prevent premature lifting.
Conclusion
Builder gel is an excellent choice for those looking to enhance their nails’ strength and beauty without the drawbacks of acrylics. With proper application and maintenance, you can enjoy flawless, long-lasting nails that look professionally done.
Ready to try gel? Whether you’re a beginner or an experienced nail enthusiast, this versatile product will help you achieve your dream nails effortlessly. Give it a try and experience the difference! 💅✨
FAQs
1. Can builder gel damage natural nails?
No, when applied and removed correctly, gel does not damage the natural nail.
2. How do I remove builder gel safely?
For soft gel, soak nails in acetone for 10-15 minutes. Hard builder gel must be filed off carefully.
3. Can I use builder gel on short nails?
Yes! gel can reinforce short nails and help them grow stronger.
4. Does gel need a base coat?
Yes, a base coat improves adhesion and prevents lifting.
5. Is gel better than dip powder?
It depends on your preference— gel offers more flexibility, while dip powder provides a thicker, durable coat.